
I am first and foremost a baritone and tenor player. That said, I was not in the market for another baritone saxophone. However, when the opportunity presented itself for me to pick up this Martin Committee III baritone in spring 2014, I couldn’t refuse. This bari had so much going for it, I would have been a fool to pass it up.

I had the opportunity to play this horn at my tech’s shop. It was there on consignment, along with a bunch of other instruments that all belonged to the same person. That person wanted to cull their herd as it were, but this bari was the only pro sax in the lot.
As soon as I tried to play it, I realized it had a lot of potential. Yes, it had some leaks. Yes, it had a mismatch of pads with a variety of resos. And yes, it had a few minor dents, but overall this Martin Committee III baritone was in remarkable condition. As you likely know, most baris of this vintage have seen a lot of mileage, and are in pretty rough condition. This silver plated beauty, with its nickel-plated keys and gold wash bell, was only gently used in its 55+ years. Based on its condition, it quite likely is a one owner horn; certainly was never a school horn; and likely not even a student’s horn.
Martin Committee III Baritone, AKA The Martin Baritone, Specs
- Model: Committee III, AKA The Martin
- Serial #: 204XXX
- Finish: Silver plated, with nickel-plated keys and gold wash bell
- Features: Bevelled tone holes; adjustable right thumb rest
- Lacks: Chromatic F# key
Before Pix


During Pix
David’s restoration included the following:
- Total disassembly of the horn, and removal of the appropriate key guards.
- Repair of the two (2) tone holes that were leaking.
- Polishing the horn.
- Repadding with Pisoni pads with nickel-plated resos.
- New corks.
- Manufacturing of replacement stopper for high E key.


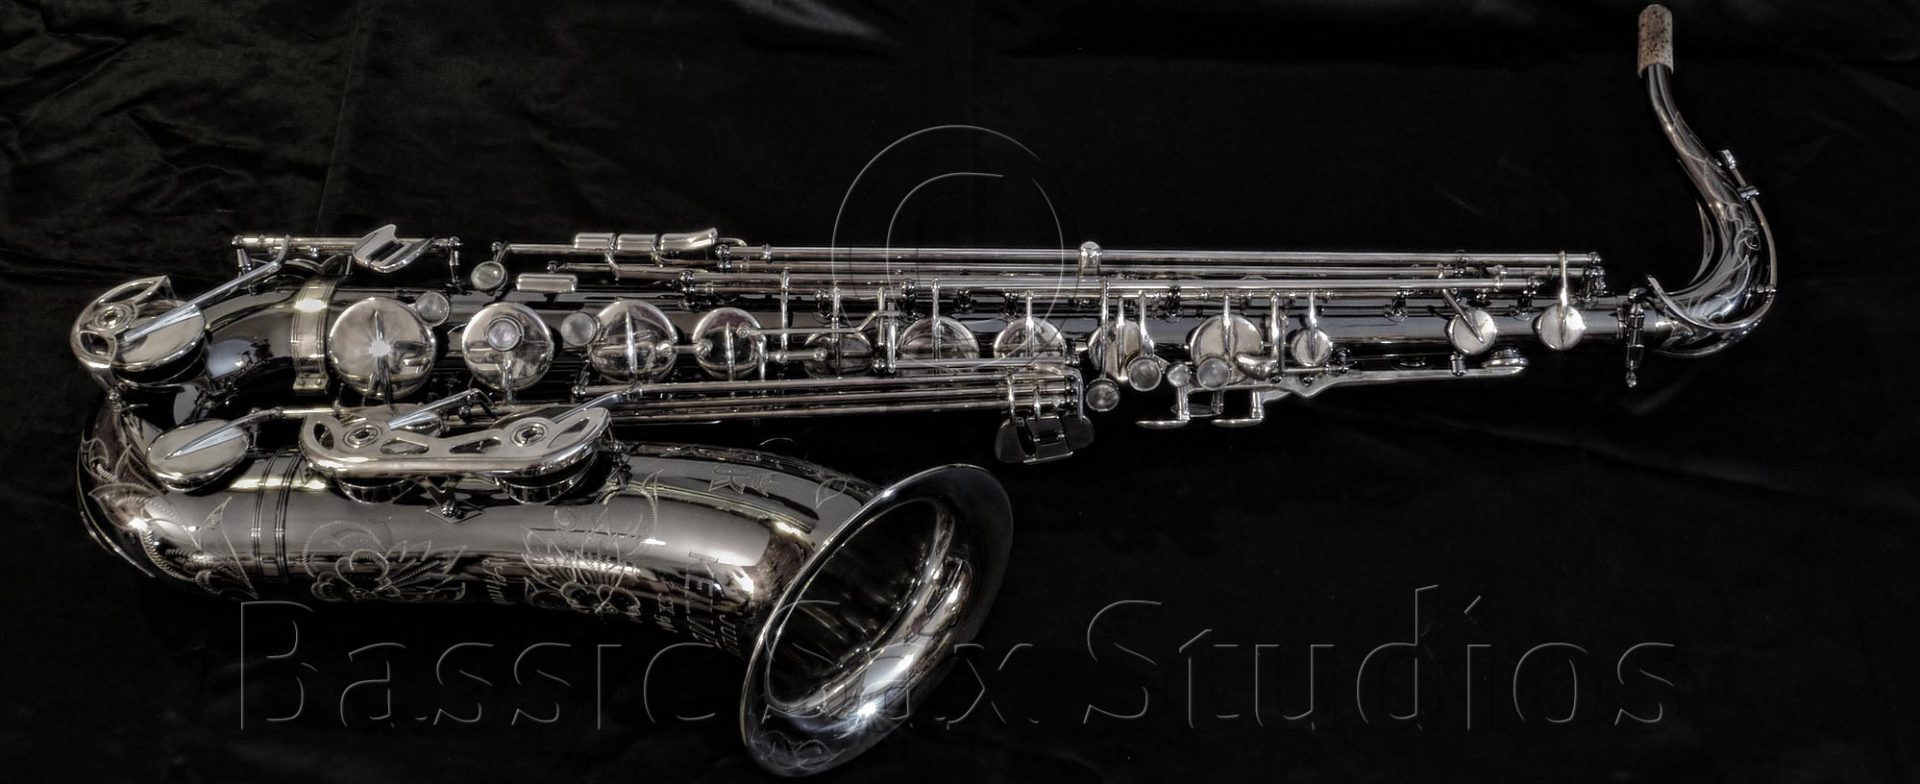
After Pix
Unfortunately I didn’t photograph the horn immediately upon getting it back from David. It took me about 2 month to get around to it. I’m shocked how much tarnish is already on the horn, and how the water and grease stains show up badly. So a couple of things to keep in mind:
- This horn was immaculate when it came back from David. Any tarnish you see is on me, not on him.
- I did these “after” shots using HDR photography. Each photo is composed of 5 individual images of different exposures combined together to create the 1 image the you see. My HDR program of choice is Machinery. For the “before” pix, I didn’t bracket the photos, thus the photos are conventional, not HDR.


You must be logged in to post a comment.